

DIY: how to make your own glue dots
Make any size glue dot you need with this DIY tutorial. What a money saver!
“So many possibilites. LOVE MAKING THESE!”
DID YOU KNOW YOU COULD make any size glue dots for your next project??
Why yes . . . yes you can. I just have to be careful because I am liable to glue myself to the table with these.
I may or may not have glued my laptop to my craft table unintentionally but I will never admit to it! Ha!

make your own glue dots
You can use any tacky glue in your arsenal or choose from one below
* affiliate links below *
Aleene's Tacky Glue
Quick Dry Tacky Glue
Scotch Tacky Glue
make your own glue dots tutorial
Step by step instructions for making your own glue dots

1. Prepare the wax paper
Since I am reusing an old glue dot box, I decided to stick with the normal sized glue dots. First cut 1 inch strips of parchment or freezer paper and adhere the dull sides together to make it two-sided.

Next squeeze any tacky glue onto the parchment strips according to the video guidelines. You can make these any size/shape you wish.

2. wind on spindle or paper towel roll

Let the glue dots dry enough so that they are firm but tacky to the touch. Finally wind the adhesive dots onto a recycled glue dot spindle or a trimmed down section of paper towel roll.
That’s it!
You’ve just created your very own glue dots. Use on your next project or continue on to decorate your glue dot container.
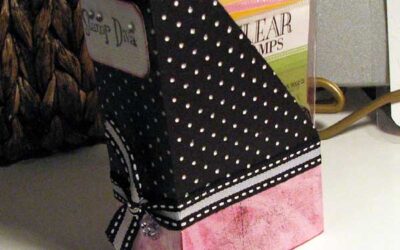
3. decorate the container
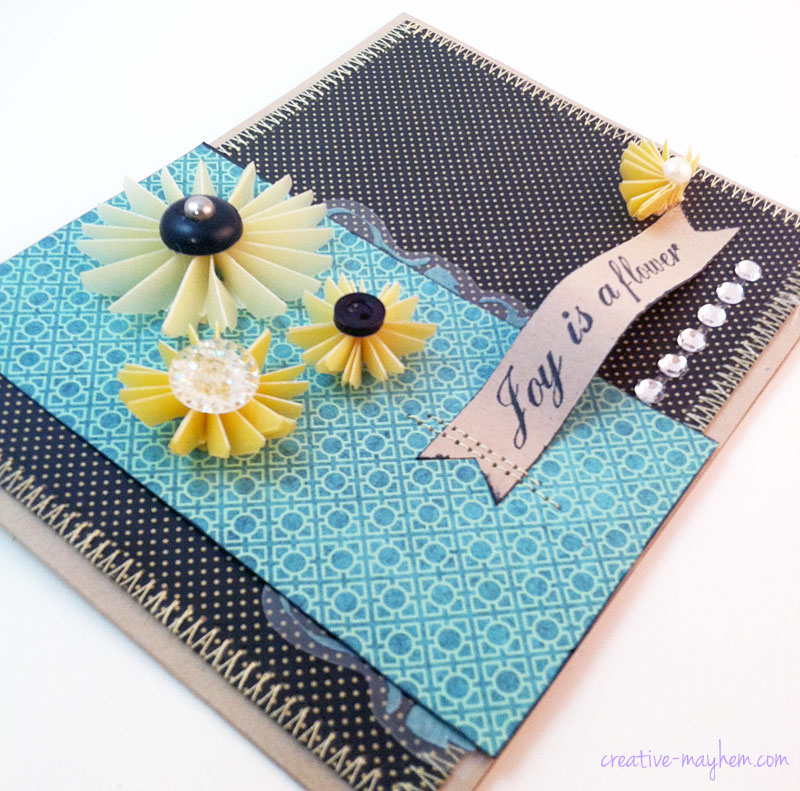
Using an old glue dot container, I traced around the box to make a template. With a kraft cardstock base and beautiful patterned paper, I decorated both sides of the box.

I added decorative touches such as flowers, pins, bling, and even glittered the edges. More on that below.

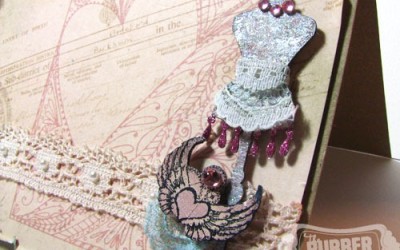
bonus diy: how to easily glitter edges of diecuts
Look closely at the edges of the tag. Do you see the really pretty sparkle? That is actually glitter.
I know right??!!!
It sounds really messy but when you use a tacky glue, it is really very easy and not that messy at all.
Let me show you a fun easy technique to add subtle yet beautiful touches to your next project.

4. BONUS DIY: Glitter the edges

If you’ve ever wanted to apply a bit of sparkle to the edges of an item without having to wait YEARS for it to dry . . . then try this technique.
First place a small of glue onto a stamping block.

Then using an applicator such as a makeup sponge, apply to edges of cardstock.

Wait a minute or two for the glue to get tacky then simply rub glitter into the glue and that’s it! No waiting for the glue to dry. Once you’ve rubbed it in, you can keep on working. LOVE IT!!


Too much??? (I confess. I couldn’t help myself.)
share your tips below:
If you have any tips you’d like to share, please post a comment below. I may even use the tip (with credit) in my next Youtube video. I hope you like this DIY make your own glue dots tutorial and bones tips. Will you make an adhesive dots gift? If so, let me know below!

0 Comments